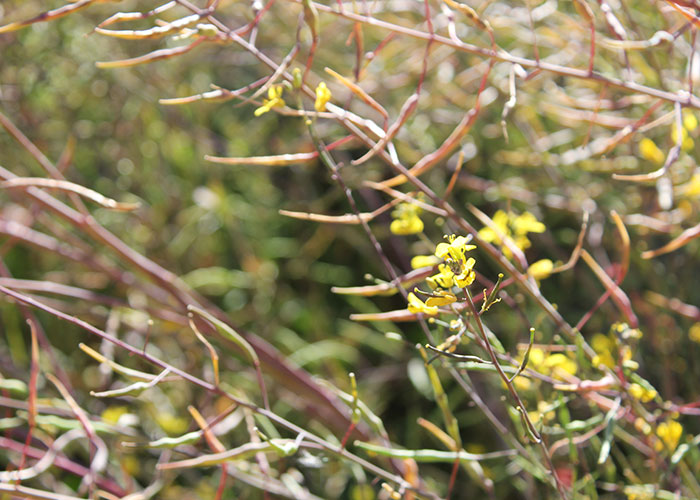
Seed Saving Basics
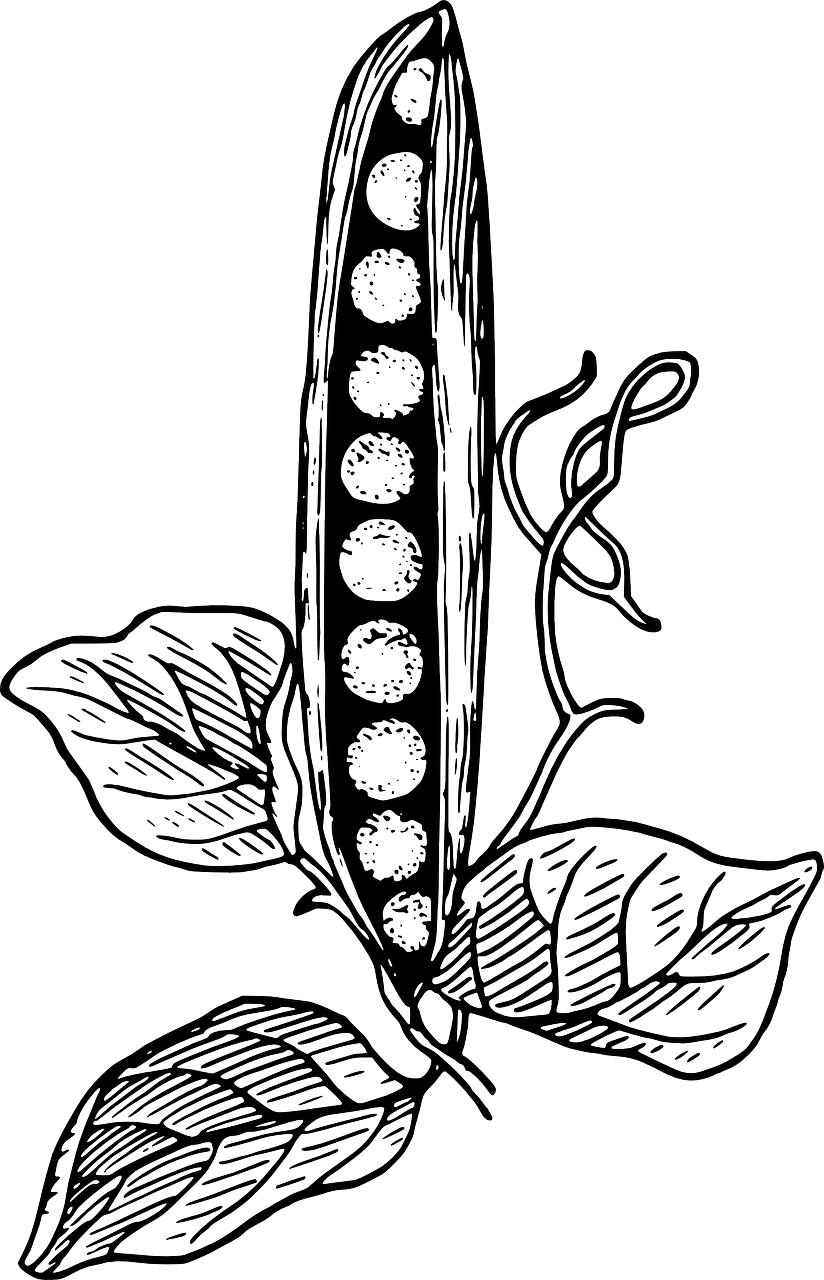
Seed saving is making a comeback! Like other survival skills from home canning to foraging, saving seeds was all but forgotten for a short time, but the practice is thriving once again among a new generation of enthusiasts.
Seed saving is just what it sounds like: collecting and saving the seeds from your gardens plants so that they can be replanted later. Of course, plants reproduce themselves by seed all the time without human intervention. Every gardener knows that weeds don’t need any help sowing their own seeds all over our yards! The art of seed saving is simply harnessing this natural process to suit our own human goals.
But many people who might want to try saving their own seeds have no idea where to start. Given that many of us grew up without access to a garden or gardening mentors. We’re here to demystify the process and help you get started, no matter where you’re starting from.
Why Save Seeds?
For many of us, saving our own seeds is no longer a survival necessity. Seed companies come out with new catalogs every season, filled with countless varieties of vegetable, herb, and flower seeds that can be delivered right to our doorsteps with just a few clicks of a computer mouse. Or we can skip the seed-sowing all together, and simply pick out starts from local garden centers.
And those are excellent options. We’re certainly not trying to discourage anyone from checking out the beautiful selection of seeds and starts we carry every season here at Sky, or from supporting local growers and seed producers. Buying seeds and starts is at the very least a great way to explore new varieties. It’s also the only way to access hybrid varieties such as the ever-popular ‘Sungold’ tomatoes (not at all the same as GMOs ― more on that in a moment), which are often known for their natural vigor and disease resistance.
But there are still so many great reasons to try saving your own seeds, even if you’re not planning to go completely off the grid:
COMPLETE THE CYCLE
Nature moves in circles, not in straight lines. Seeds don’t come from mailboxes or garden centers. They come from plants, just as plants come from seeds. In nature, seeds are free and endlessly renewable. Many gardeners enjoy the satisfaction of following the cycle all the way around, and seed saving lets us do just that.
ENGAGE YOUNG GARDENERS
Just about every day here at Sky, we meet gardeners who want to teach the kids in their lives skills that were missing from their own childhoods. Seed saving is a great project for kids because it helps young minds understand cycles in nature. Even very young kids can help collect large seeds like peas, and older kids may want to plan and grow their own seed gardens.
CREATE SIGNATURE STRAINS
When you save your own seeds, you get to choose which ones to save. Just like with any living thing, no two plants are exactly alike. By growing multiple plants of each variety and selecting seeds only from your star-performers, you can create your own unique stains that are perfectly suited to your unique garden conditions, preferences, and style.
RESILIENCE & SELF-SUFFICIENCY
Even if we continue to buy some of our seeds, there can be a deep satisfaction in knowing we don’t always have to. And given that Covid-19 and fires have had an impact on commercial seed supplies, learning what it takes to extend our own supplies might be a great idea.
SAVE MONEY
Sure, a packet of seeds usually only costs a few dollars. But that can add up over time, especially if you’re buying new seeds every year. Seeds you save from your own garden cost no money at all.
SHARE & TRADE
Once you’ve learned how to save your own seeds, why not share your bounty? Most vegetables and annual flowers produce tens to hundreds of times more seeds than the average gardener needs, so you’re very likely to find yourself with plenty to spare. Home-grown seeds make great gifts, and you can also trade for different varieties from other seed savers through local seed libraries and exchanges.
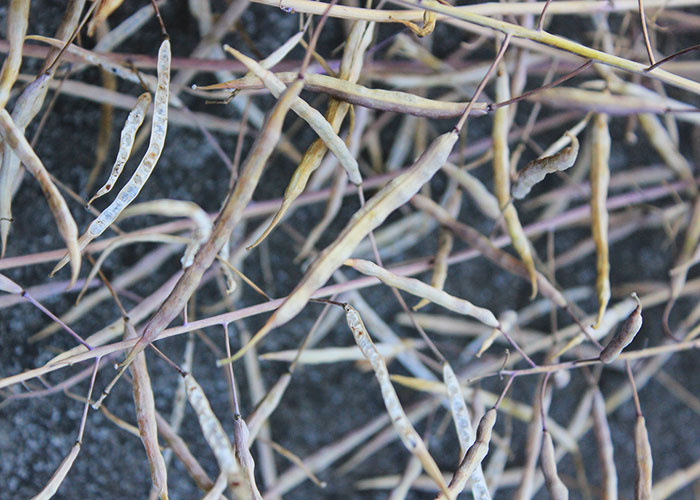
Planning for Seed Saving
You can save seeds from just about any garden, but a little planning will go a long way in helping you save seeds successfully.
CHOOSE OPEN-POLLINATED OR HEIRLOOM VARIETIES
Make sure you start with open-pollinated, not hybrid, seeds or plants. It’s important to note that hybridization is a completely different process from genetic engineering, which produces GMOs. Hybridization is the simple and natural process of crossing two different varieties by using the pollen from one plant to fertilize another.
So by all means, grow some hybrids! They are often especially successful because they express the best traits of both of their parents. But if you save the seeds from a hybrid, the same genetic diversity that makes them so vigorous will make their offspring unpredictable.
Open-pollinated varieties, on the other hand, are either self-fertilized or fertilized by another plant of the same variety. These are stable varieties, and their seeds will almost always grow into plants that are very similar to the ones they came from.
There’s a lot of reverence around heirloom varieties these days, but an heirloom is just an open-pollinated variety that has been passed down through several generations. Both heirlooms and newer open-pollinated varieties make great options for seed saving.
Look for the words “open pollinated,” or “OP” for short on plant tags and seed packets. If you see “F1” for “hybrid” instead, that may be a great variety to grow, but you never know what you’ll get if you save its seeds. If the tag or packet doesn’t tell you whether your favorite variety is open-pollinated or a hybrid, a quick online search will.
PREVENT CROSS-POLLINATION
Even if you start with open-pollinated plants, you could end up with hybrid seeds. Remember how we said hybridization is completely natural? It’s so natural that it often happens even when you wish it wouldn’t.
The easiest way to make sure your plants don’t accidentally hybridize is to grow only one variety of each species. But keep in mind that some plants we think of as different from each other are actually the same species ― for example, zucchini can easily hybridize with acorn squash. On the other hand, many vegetable favorites, such as tomatoes, pretty much never hybridize on their own no matter how many varieties you grow.
If you want to get into the details, the Seed Savers Exchange packs everything you need to know into one handy chart. Look for the word “self” under “pollination method” for plants that usually won’t hybridize on their own.
START WITH ANNUALS
Annuals grow and produce seed within a single season. In contrast, perennials live for many years and produce seeds when the conditions are right. Biennials grow only leaves and roots for one year before producing seed and then dying in their second year. Because they produce a whole lot of seed within a short amount of time, annuals are the easiest to save seed from.
Luckily, most veggie garden favorites and lots of gorgeous flowers are annuals. If you’re not sure about the plant you want to try saving seed from, look it up on the Seed Savers Exchange chart or just give it an internet search.
LEAVE EXTRA SPACE & TIME
Annuals grow and produce seed within a single season. In contrast, perennials live for many years and produce seeds when the conditions are right. Biennials grow only leaves and roots for one year before producing seed and then dying in their second year. Because they produce a whole lot of seed within a short amount of time, annuals are the easiest to save seed from.
Luckily, most veggie garden favorites and lots of gorgeous flowers are annuals. If you’re not sure about the plant you want to try saving seed from, look it up on the Seed Savers Exchange chart or just give it an internet search.
Keep in mind that we typically harvest most vegetables and cut back most flowers before their seeds are ripe. For example, pea seeds are ready to save when the pods are dry and brown, often a month or more past their prime for eating. And other plants such as lettuce will grow several times their typical harvesting size before setting seed.
How to Save Seeds
Saving seeds is easier than most people think. For many vegetables and flowering plants, it’s as easy as plucking dry seeds off the plant and storing them. Wet seeds that come packaged inside of fruits take just a few more minutes of easy work. Check out our seed saving video to see for yourself how quick and easy seed saving can be.
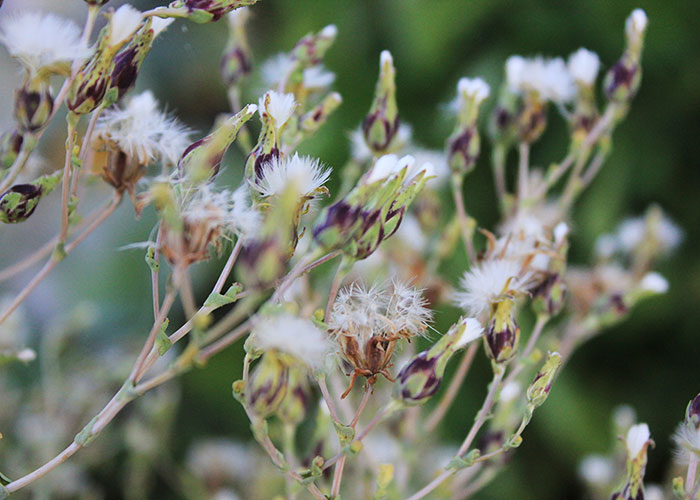
SAVING 'DRY' SEEDS
Examples: Peas, beans, lettuce (pictured), bachelor’s buttons, and calendula.
Dry seeds come in pods or seed heads, or just grow right on the outside of the plant. Let these dry on their plants until they are brown and dry to the touch, then simply take them off of the plant, out of their pods or seed heads, and pop them in a labeled envelope or jar.
As simple as this process is, we Pacific Northwest gardeners do have one big challenge when it comes to saving dry seeds: our infamously rainy autumn weather. It’s a big disappointment when nearly-ready seeds get soaked and then rot in the garden. Rain is no problem when the plants are flowering or just beginning to make young green seeds, but if the forecast threatens rain once the seeds have begun to dry, you might need to take action. Pull up the whole plant including the roots, and hang it upside down somewhere dry and drafty, like a shed or garage. The plant will use all the stored energy it has left to finish ripening the seeds.
SAVING 'WET' SEEDS
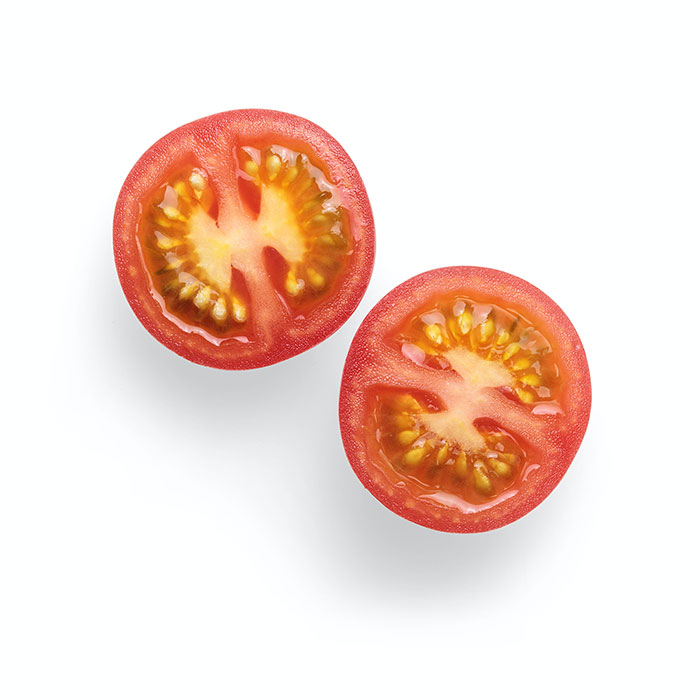
Examples: Cucumbers, tomatoes, peppers, squash and melons.
Saving seeds that come inside of fruit is almost as easy. First, make sure your fruits are completely ripe. This means that peppers are brightly colored with no more traces of green, cucumbers and zucchini have begun to get a leathery skin like winter squash, and tomatoes are beginning to go all soft and squishy.
Now you need to remove the seeds from their fruits and dry them. Pepper seeds can just be scraped out and separated from any pulp they’re stuck to. Others, like cucumber seeds, might need a good rinse in a mesh strainer to separate them from the fruity goo they come in. Once they’re clean, just lay them out on a ceramic plate for a day or two. They’re ready to pack up once they’re dry and brittle to the touch.
Tomatoes are a special case, because they need to be fermented. Squeeze out all the goop from the inside of the tomato into a jar, cover with something breathable like cheesecloth or a paper towel secured with a rubber band, and let sit for two to five days, until the seeds settle to the bottom. Then you can rinse them, dry them, and store them. If you're worried about this process, check out our seed saving video if you haven't already.
STORING YOUR SEEDS
Once your seeds are dry and ready to store, put them into a labeled container, such as a coin envelope. It’s a good idea to label your containers with the variety name and the year, to keep track of your collection.
Seeds will keep longer and have better germination rates the more that they are kept cool, dry, and out of direct sunlight. You can pack multiple envelopes into the same airtight container, such as a plastic food storage container or a glass jar. Some seed savers put dry rice or a silica gel packet in the bottom of their sealed containers to remove any condensation that might sneak in there. A garage, shed, or closet in a cool room are great places to store your saved seeds.
Save Some Seeds This Season!
There’s always more to learn about seed saving, but the best way to learn is to dive right in. Before you start your fall cleanup, take a look around your garden for any seeds you might be able to save. What about those last few tomatoes that have gotten a bit soggy from the recent rain, or the drying pods from your nasturtiums? Before you toss those plants in the compost pile, collect a few seeds to save for next year!
Don’t worry about getting it exactly right. If you give it a try and view anything that doesn’t go perfectly as an opportunity to learn, you’ll be surprised at how quickly you get the hang of it, and how quickly your seed collection starts to expand.
